
Before you hand over the keys or sign the final paperwork, a thorough walk-through of your new home can save you from costly surprises, security deposit disputes, and move-in day chaos. This final inspection takes about 60 to 90 minutes and catches both obvious problems (broken appliances, damaged walls) and easy-to-miss issues (leaky faucets, faulty locks) that become your responsibility the moment you move in. Whether you’re closing on a house or starting a new rental agreement (familiarize yourself with apartment lease types if you’re renting), documenting the property’s condition protects you legally and financially.
I learned this lesson the hard way during my first move, when I skipped a proper check and discovered a non-working oven only after the moving truck had already unloaded. The landlord claimed it was fine when I signed the lease, and I had no proof otherwise. That mistake cost me weeks of takeout meals and a tense dispute I could have easily avoided.
This guide walks you through exactly what to inspect, room by room, with the right tools and documentation methods to ensure your new home is safe, functional, and ready for your arrival. You’ll know precisely what to look for, how to test it, and what to do if something’s wrong, all before moving day arrives.
What You’ll Need for Your Pre-Move House Inspection
Gathering the right tools before your inspection saves time and ensures you don’t miss critical details. You probably already have most of these items around the house or packed in your moving supplies, so take a few minutes to assemble your inspection kit before heading to the property.
Smartphone with a fully charged battery and plenty of storage space for photos and videos that document every room’s condition
Notepad and pen for jotting down observations, measurements, and questions to ask your landlord or the previous owner
Flashlight or headlamp to inspect dark corners, closets, under sinks, and poorly lit areas like basements or attics. If your property has special features like a wood-burning fireplace or gas unit, you might want contact information for specialists such as gas fireplace repair Sarasota in case you discover issues that need professional assessment
Tape measure for checking furniture fit, noting room dimensions, and measuring any gaps or damage that need repair
Copy of your move-in inspection report if you’re renting, so you can compare the property’s current condition against its state when you moved in
Contact information for your landlord, property manager, seller, or real estate agent in case you need to report urgent issues immediately
Basic cleaning supplies like paper towels and all-purpose cleaner for spot-checking whether marks are dirt or damage, and for minor touch-ups
Your smartphone camera is your most valuable tool here. Timestamp each photo so you have proof of when you documented specific conditions. Having everything organized in advance lets you work methodically through each room without backtracking.
Important Safety and Timing Considerations
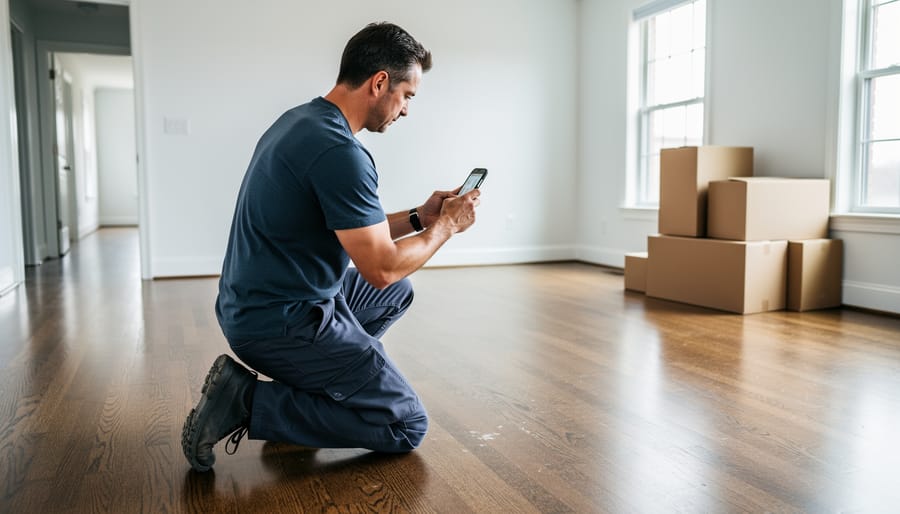
Timing your house inspection correctly makes all the difference between catching problems you can fix and discovering them when your moving truck is already loaded. Schedule your walkthrough one to two days before your actual moving day, giving yourself enough time to address any issues without the pressure of an imminent deadline. Choose a daylight window, ideally mid-morning to early afternoon, when natural light reveals details you’d miss under artificial lighting. This timing also means you can contact landlords, sellers, or repair professionals during normal business hours if you discover something concerning.
Some findings demand immediate action while others can wait. Red flags requiring urgent attention include gas smells, non-functioning smoke detectors, major water leaks, broken locks on exterior doors, and any electrical hazards like exposed wiring. These aren’t just inconveniences; they’re safety risks that could endanger you and your family. On the other hand, minor cosmetic issues like small nail holes, light switch plate scratches, or a squeaky cabinet hinge can be noted and addressed after you’ve moved in. The key is distinguishing between what makes a home unsafe or uninhabitable versus what’s simply imperfect. Whatever you do, don’t postpone this inspection until moving day itself when you’re rushed, distracted, and out of options if something significant turns up.
Step-by-Step House Inspection Checklist
Exterior and Entry Points
Start at the front door and work your way around the house’s perimeter. Test every exterior door, front, back, side, and garage, to confirm locks engage smoothly and keys turn without sticking. Doors should close flush against their frames without gaps you can see daylight through.
Open and close each window completely. They shouldn’t require excessive force, and locks should latch securely. Run your hand along closed window frames to feel for drafts that indicate poor sealing.
If there’s a garage door, test both the automatic opener and manual release mechanism. The door should move smoothly without grinding or hesitating halfway.
Flip every outdoor light switch and check that fixtures illuminate properly. Walk the property’s perimeter examining siding for cracks, loose panels, or damage. Inspect walkways and driveways for trip hazards like uneven pavement or broken concrete.
For houses with gutters, look for sagging sections or visible debris. Take photos of everything, capturing wide shots of each exterior wall plus close-ups of any concerns. These images create your baseline record of the property’s condition.
Walls, Ceilings, and Floors Throughout
Start in one corner of each room and work your way around systematically. Hold your flashlight at an angle against walls, this makes nail holes, scuffs, and subtle damage stand out.
Check walls for cracks longer than a few inches, water stains (especially near windows and ceilings), unfilled nail holes, and scuff marks that won’t wipe off. Ceilings need attention too: look for discoloration, sagging, or cracks radiating from corners. Document everything with photos, even minor issues.
For floors, get down close. Hardwood scratches, carpet stains, tile cracks, and vinyl tears all matter. Test carpet by running your hand over suspicious spots to feel for dampness or rough patches.
I once skipped a thorough wall check before moving out of a rental. Two weeks later, my landlord deducted $200 from my deposit for wall damage I swear was already there. No photos meant no proof. That mistake taught me to photograph everything, even damage that seems obvious or pre-existing.
Take notes as you go: “Master bedroom, north wall, three nail holes above bed height” beats trying to remember later. Compare findings against your move-in report if you have one.
Plumbing and Water Systems
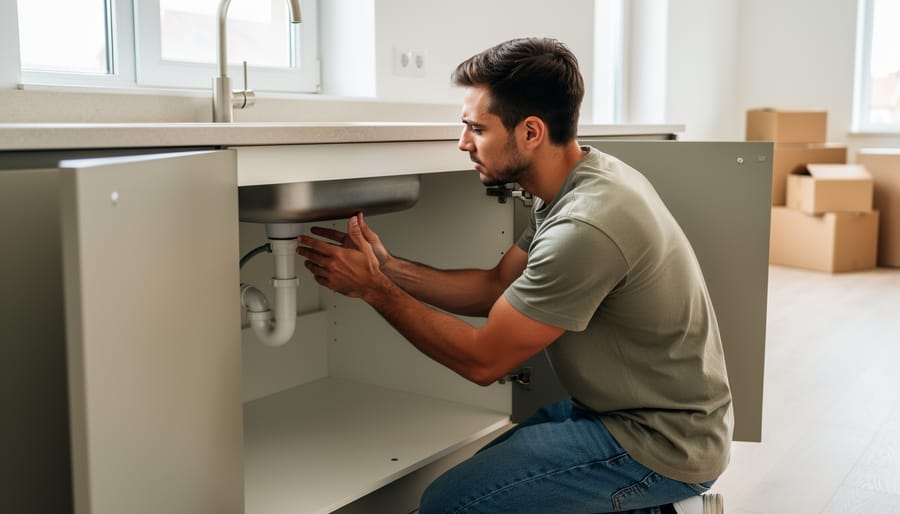
Start with the kitchen sink and turn on both hot and cold taps at full pressure. Let the water run for at least two minutes while you watch for drips from the base of the faucet and check the cabinet below for any moisture accumulating on pipes or the cabinet floor. Repeat this process at every sink in the house, including bathrooms and utility rooms.
Flush each toilet twice. Listen for continuous running water after the tank refills, which signals a faulty flapper valve. Check around the base of the toilet for water stains or dampness on the floor, a sign of a leaking wax ring that needs immediate attention.
In bathrooms, turn on the shower and tub faucets, then watch how quickly water drains. Slow drainage often means a developing clog. While the water runs, feel the temperature to confirm both hot and cold lines work properly.
Open every cabinet and vanity that houses plumbing. Run your hand along exposed pipes, checking for dampness or corrosion. Look at the cabinet floor with your flashlight for water stains, warping, or mold, which indicate past or ongoing leaks.
Finally, locate your water heater and verify the temperature setting sits between 120-140°F to prevent scalding while ensuring adequate hot water supply.
Electrical Systems and Fixtures
Test every light switch in each room, flipping it on and off to confirm it controls the correct fixture. Check that all bulbs illuminate properly, dim or flickering lights might signal wiring issues. Move through the house methodically, testing every outlet with your phone charger or a small lamp. Pay special attention to outlets near water sources.
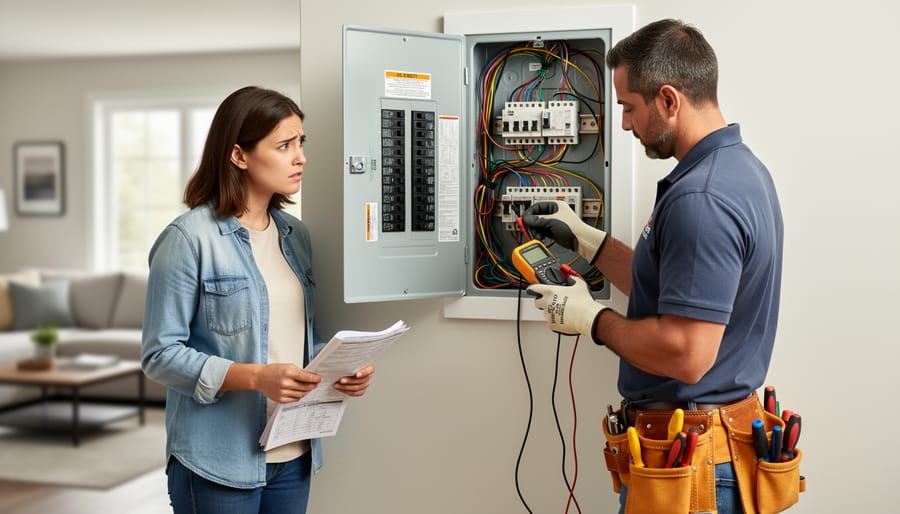
Circuit breakers should have clear labels identifying which rooms or appliances they control. Open the panel and verify labels are legible and accurate. Understanding the brownout vs blackout distinction matters here: if you notice lights dimming when appliances run, note it for your landlord or electrician.
Test GFCI outlets in bathrooms and the kitchen by pressing the “test” button, the outlet should click off. Press “reset” to restore power. These safety features prevent electrical shocks in wet areas.
Finally, press the test button on every smoke and carbon monoxide detector. Replace batteries if the chirp sounds weak or absent. I once moved into a place where half the detectors were dead, a fire hazard I caught only because I tested them all. Check expiration dates on the detector backs; units older than ten years need replacement.
Kitchen Appliances and Features
The kitchen demands thorough testing since appliance issues are among the most common move-in surprises. Start with the stove by turning on each burner to confirm they heat evenly, then set the oven to 350°F and let it preheat completely. If you have a thermometer, verify the temperature is accurate.
Open the refrigerator and check that it’s running cold, ideally below 40°F. If there’s an ice maker, ensure it’s connected and producing ice. Run the dishwasher through a complete cycle with a tablet or detergent to check for leaks, proper drainage, and that the heating element dries dishes effectively.
Test the garbage disposal by running cold water and switching it on for several seconds. Listen for grinding noises or jams that indicate problems. Turn on the range hood fan at all speeds and verify the light works.
Finally, open every cabinet door and drawer. They should glide smoothly without sticking, and all handles should be secure. Loose hardware is easy to fix now but frustrating to discover when you’re unpacking boxes on moving day.
Heating, Cooling, and Ventilation
Start with the thermostat: switch it to heat mode and raise the temperature a few degrees above the current room temp. Wait five minutes to confirm warm air flows from the vents. Then switch to cooling mode, lower the setting, and verify cold air comes through. This simple test catches broken systems before you’re sweating through your first night or shivering in winter.
While the system runs, locate your air filter (usually behind a vent grille or in the furnace closet). Pull it out and check if it’s clogged with dust or debris. A filthy filter means reduced airflow and higher energy bills. Make a note if it needs immediate replacement.
Walk through each room and hold your hand near every vent. You should feel steady airflow with no blockages from furniture or debris. Listen carefully for grinding, squealing, or banging sounds from the HVAC unit, these signal mechanical problems that need professional attention.
Finally, flip on all bathroom exhaust fans. They should run quietly and vent moist air outside, not just recirculate it. A non-working fan leads to mold and mildew problems down the line.
Storage Areas and Access Points
Storage areas are easy to overlook during final inspections, but discovering problems here on moving day creates immediate headaches. Start with the attic if your home has accessible entry. Pull down the ladder or open the hatch, shine your flashlight inside, and look for water stains, damaged insulation, or pest droppings. You don’t need to climb up unless you’re storing items there.
For basements and crawl spaces, check for standing water, moisture on walls, musty odours, and cracks in the foundation. Run your hand along the walls near the floor, dampness here signals drainage issues that need addressing before you unpack boxes.
Test every closet door to confirm it opens, closes, and latches properly. Wiggle shelving units to ensure they’re secure and check for missing brackets or sagging supports.
If you have a garage, press the door opener button and watch the full cycle. Then pull the manual release cord to verify the emergency mechanism works, you’ll need this if the power goes out. Finally, inspect any outdoor sheds or storage spaces for broken locks, roof leaks, or damaged flooring that could ruin your belongings.
Keys, Locks, and Security
Start by gathering every key you’ve received, front door, back door, garage, mailbox, gate, and any storage areas. Test each one in its corresponding lock to confirm it actually works. I once moved into a rental where the “spare” front door key didn’t fit, leaving me locked out on day two.
Check that deadbolts slide smoothly and engage fully without sticking. Wiggle door handles to ensure locks hold securely. If you’re taking over a home with a security system, verify you have the correct codes and test arming and disarming from the keypad. Try the panic button functionality if present.
Document any missing keys immediately, this matters especially for renters, as landlords often charge replacement fees. Photograph your complete key set with labels showing which key opens what. Note any locks that feel loose or keys that require excessive force to turn; these may need replacement before you’re responsible for security.
Request replacements for non-functional keys in writing before moving day, giving yourself time to avoid locksmith emergencies during the actual move.
Documenting Your Findings and Next Steps
Start documenting as you inspect rather than trying to remember everything afterward. Take clear, timestamped photos of any damage, wear, or malfunction you discover, making sure the image shows both the issue and enough context to identify the location. For example, photograph a wall crack from multiple angles, then take a wider shot showing which room and wall it’s on. Your phone’s camera automatically adds timestamps, which becomes crucial evidence if disputes arise later.
Write detailed notes alongside your photos. Record the specific location (north bedroom, hallway near bathroom, kitchen under sink), describe what you found, and note whether it’s minor cosmetic damage or a functional problem requiring repair. If you’re moving out of a rental, pull out your move-in inspection report and compare room by room. Mark items that were already documented versus new issues that occurred during your tenancy. This comparison protects you from being charged for pre-existing damage.
Once you’ve completed your inspection, organize your findings into categories: critical issues requiring immediate attention, minor repairs, and items that match the original condition. Send everything to your landlord or seller right away, don’t wait. Email works best because it creates a written record, but follow up with a phone call if the issues are urgent. Attach your photos, list specific problems with their locations, and clearly state which items need repair before move-in or after move-out.
Request repairs in writing and ask for a response timeline, typically 48-72 hours for rental situations. If you don’t receive adequate response or resolution, you may need to file a complaint with local housing authorities. Keep copies of all communication, including emails, text messages, and written notices. Store these digitally and print a backup set, they’re essential if deposit disputes arise or if issues like wrong mail delivery suggest the previous tenant’s information wasn’t properly updated in official records.
Common Questions About Pre-Move House Checks
Moving into or out of a home raises questions, especially when you’re on a tight timeline. Here are answers to the concerns we hear most often from people conducting their pre-move inspections.
Who is responsible for repairs found during the check?
In rentals, landlords typically handle pre-existing damage or major system failures, while tenants cover damage they caused. For purchased homes, responsibility depends on your purchase agreement and whether issues existed before closing. Always review your contract and notify the relevant party immediately in writing.
What if I find damage on moving day itself?
Document it immediately with photos and timestamps, then contact your landlord or the seller before accepting possession. While it’s harder to negotiate repairs at this stage, clear evidence protects you from being held responsible for damage you didn’t cause.
Should I do this check if I’m moving into new construction?
Absolutely. New homes can have installation errors, cosmetic defects, or incomplete punch-list items. Your pre-move inspection ensures the builder addresses these before you take possession, when leverage is strongest.
How detailed should my documentation be?
Photograph every room from multiple angles, capture close-ups of any damage or concerns, and take video walkthroughs with running commentary noting the date. Over-documenting is better than under-documenting when disputes arise.
What issues are worth delaying a move over?
Safety hazards like gas leaks, non-functional heating or cooling in extreme weather, major water damage, or completely broken appliances warrant postponing. Minor cosmetic issues rarely justify delay but should still be documented and addressed.
One question that catches people off guard: when should you involve your moving company? If you discover access problems, like a broken garage door or front steps that need repair, notify your movers right away. They can adjust their approach or equipment to work around the issue, preventing delays on moving day itself.